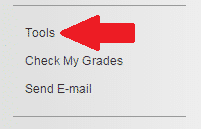
- In your course menu, select Tools.
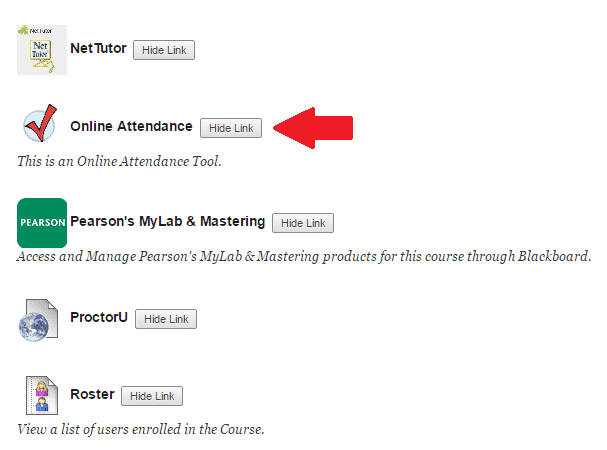
- In the Tools menu, select the Online Attendance tool link.
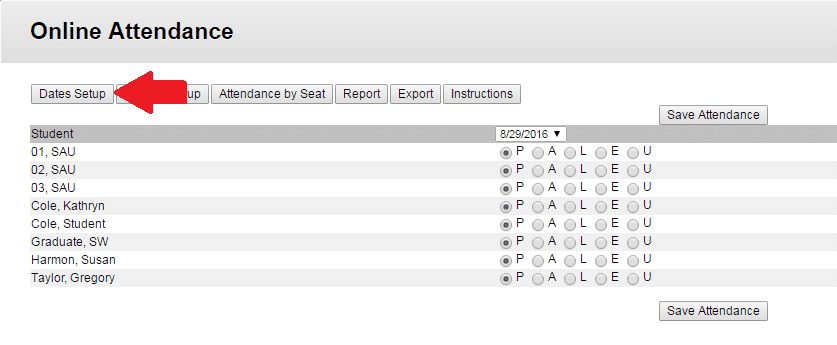
- To set up online attendance for your course, start by clicking Dates Setup.
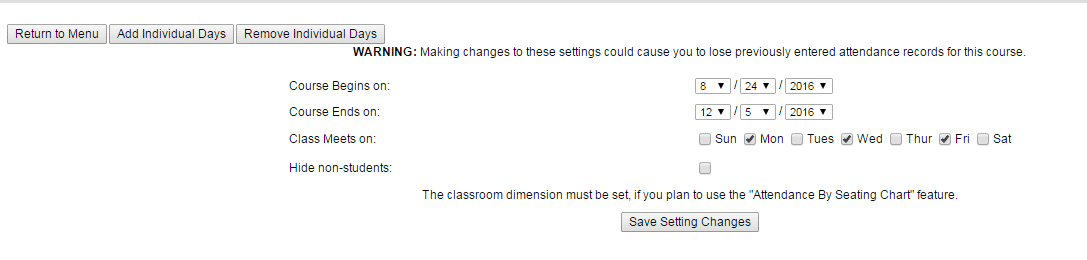
- To set up class dates, use the drop down menus to select the start and end dates of the semester for the course. Check the boxes to show what days of the week the class meets. Click Save Setting Changes. Click Return to Menu when dates have been saved.
- To take attendance, select the date that you would like to enter attendance for from the drop down menu.
Corresponding to each student on the left, select P (present), A (absent), L (late), E (excused), or U(unexcused). By default, each student will be marked as present. Select Save Attendance when finished.

Note: You can take attendance for a past date by selecting another date from the drop list above the radio buttons. You can also change the attendance records at any time by selecting the date you would like to change from the drop list, changing the radio buttons and clicking Save Attendance.
Additional Features:
- Report – allows you to quickly see the total days the students have been present, absent, late, excused and unexcused. If you click on the name of one of your students the attendance values for each day will be listed for that student.
- Export – will allow you to save an Excel document containing the attendance records for each of your students to your computer.
- Instructions -will open a page of instruction explaining features of online grading. Instructions include directions on Seating Setup and Attendance by Seat buttons.