- Login to Blackboard and access the desired course. Go to your Control Panel and expand Course Tools.
2. Select Blogs from the list.
3. Making sure that Edit Mode is on, click the Create Blog button near the upper left hand corner.
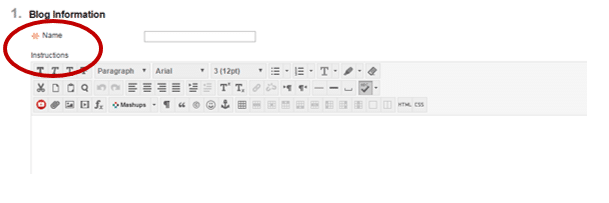
4. Enter a Name and Instructions for the blog assignment. This will be what is shown on the students’ screens when responding.
5. Blog Availability ensures that the blog will be available to students when it is submitted.
6. Blog Date and Time Restrictions allow the instructor to limit the days that the assignment is open for students to respond. To change the dates, select the box and enter the date and time for Display After and/or Display Before. By clicking on the calendar, you can select the date and from a calendar rather than entering the dates. The same applies by selecting clock for time.
7. In the Blog Participation section, select whether you would like the blog to be shared by the course or given as an individual assignment to all students. Then select whether you would like students to provide anonymous comment and/or entries.
8. Blog Settings allows you to decide whether you want entries grouped by month or week. Then, you can allow users to edit or delete entries and/or allow users to delete comments.
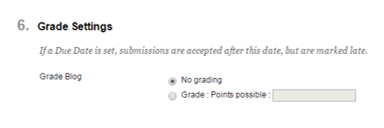
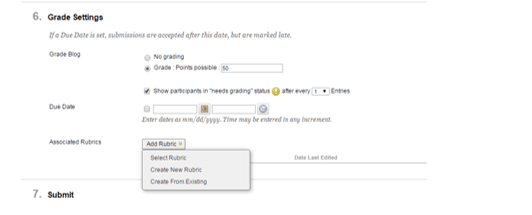
9. The final section, Grade Settings, determines whether the blog will be graded and the total Points Possible.
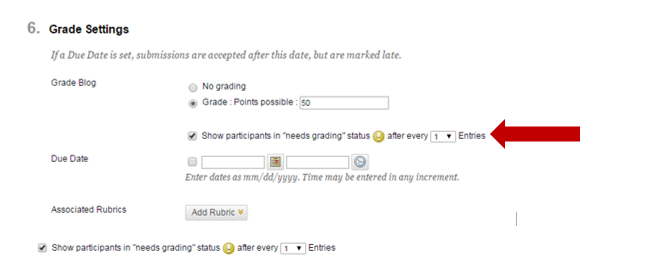
10. If the item will be graded, select the number of entries that must be completed before posts appear in the “Needs Grading” area.
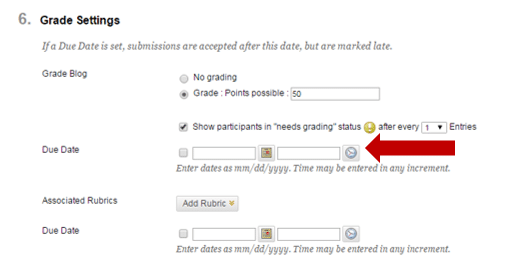
11. Provide a due date and time by selecting from the calendar and clock or enter the date and time manually.
12. Add a rubric for grading, if desired, by selecting the drop-down menu. Then, create a rubric or select an existing rubric.
13. Finish by selecting the Submit button at the bottom of the page.


