A VoiceThread is a tool for having dynamic conversations around media. Upload a collection of media, comment on it, and share it with others so they can participate in the conversation at anytime, anywhere.
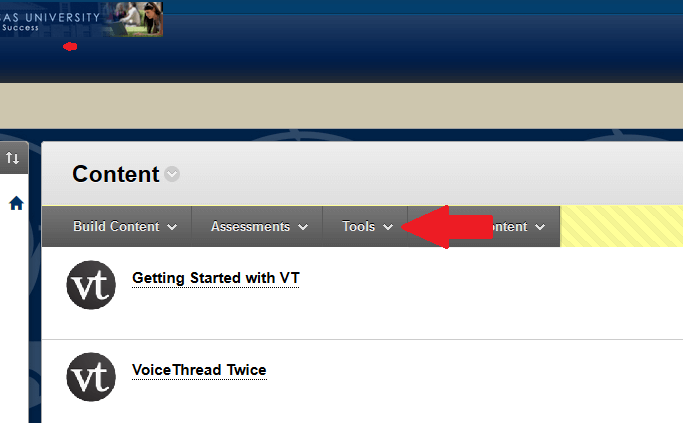
- Navigate to the Content area for your course.
- Click on Build Content or Tools menu. Select VoiceThread from the drop-down menu.

- Give the VoiceThread link a name, add an attachment, enable grading, select options, and Submit. Your VoiceThread link will appear on your Content page.
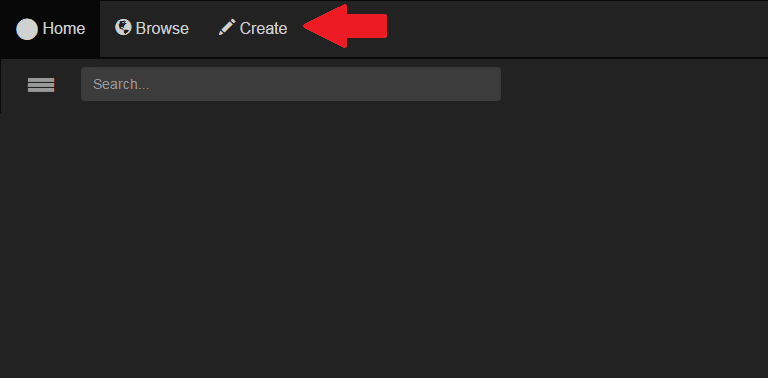
- Select your VoiceThread link to take you to the VoiceThread site. To begin creating a VoiceThread, click Create.
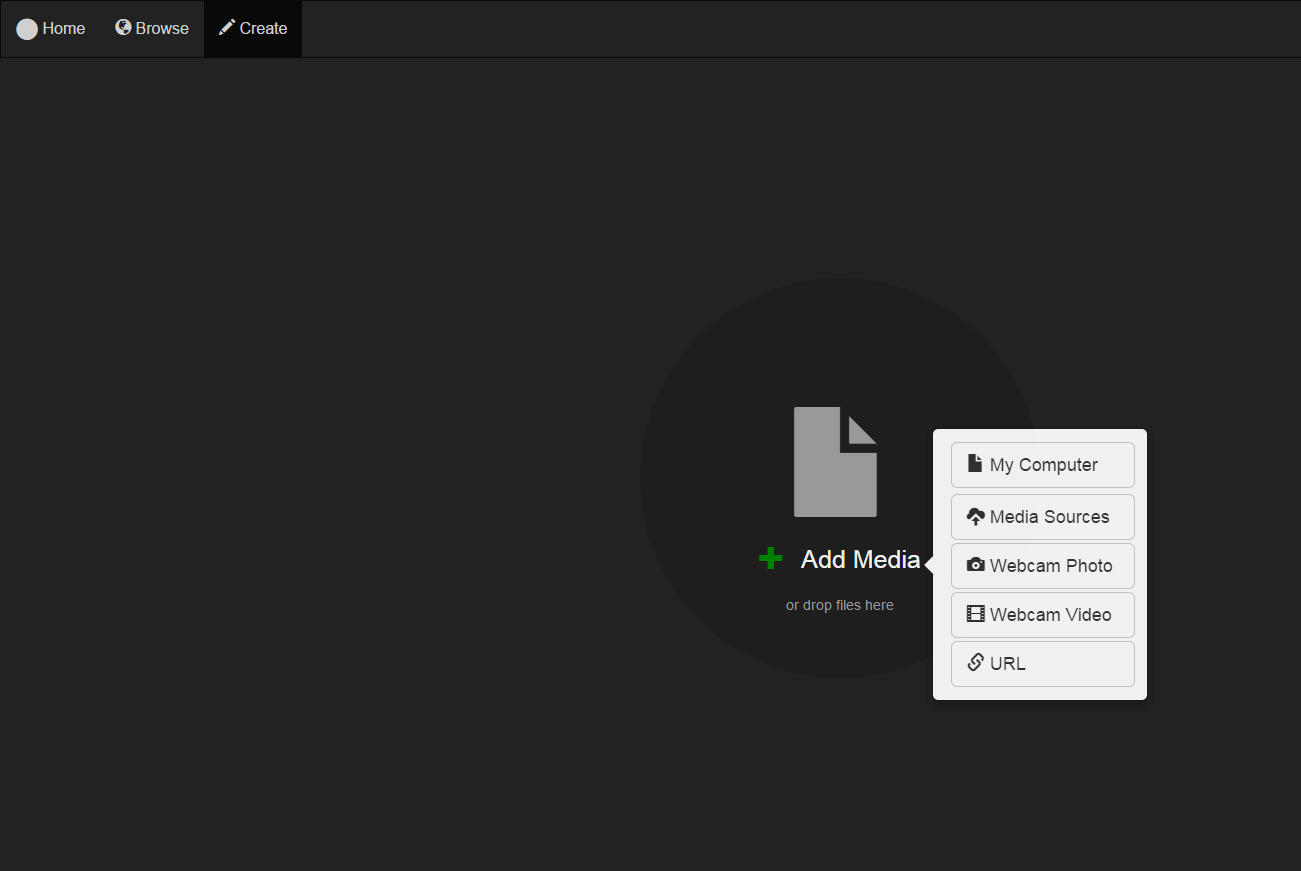
5. The first thing you’ll do is add slides to your VoiceThread. To begin adding slides, click the Add Media, or you can drop the files. There are four sources you can use. Sources include uploading from My Computer, Media sources, URL, and My Webcam. Make sure you are using the latest version of Adobe’s Flash plugin. Click here for more information about the types of files that can be uploaded into VoiceThread.
6. After you have uploaded your media, each slide will appear in the order in which it was uploaded. To reorder the slides, drag a slide to its new position. The new order will be saved automatically.
7. To embed your VoiceThread presentation in Blackboard, click the Share button. Under Basic, click Embed. Make sure the box is checked for allow anyone to View and Comment. Click on Copy Embed Code.
8. Now, go to your Blackboard course page. Click on Build Content< Add Item. In the text box, click on the HTML source code icon.
9. Right-click inside the text box and select Paste. Click Submit.
For a video tutorial, click the following links:
. https://www.youtube.com/watch?v=6EnRwlDr4SY&index=1&list=PLcIDXbBEr5nU0XhazBWbFXWTovd7GJxWe
. https://www.youtube.com/watch?v=m_A_bKQSj1o&list=PLcIDXbBEr5nU0XhazBWbFXWTovd7GJxWe&index=3